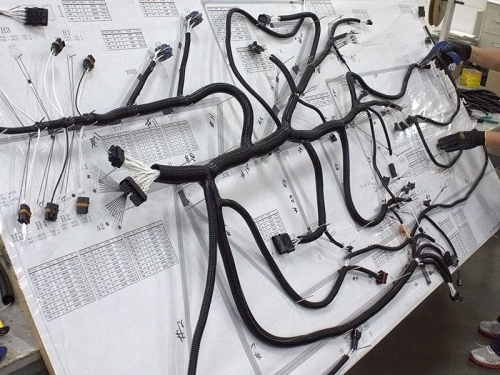
Automotive wiring harness plug is one of the key components to connect various electrical equipment and sensors. When the plug is damaged or needs to be replaced, the correct procedure is very important to ensure that the wiring harness is securely connected and the electrical system is working properly. Here are the detailed steps on how to replace the harness plug in your car.

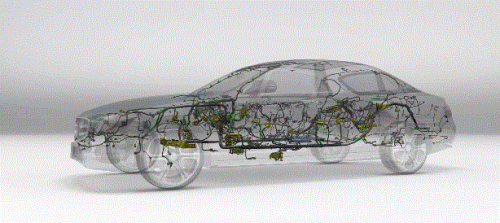
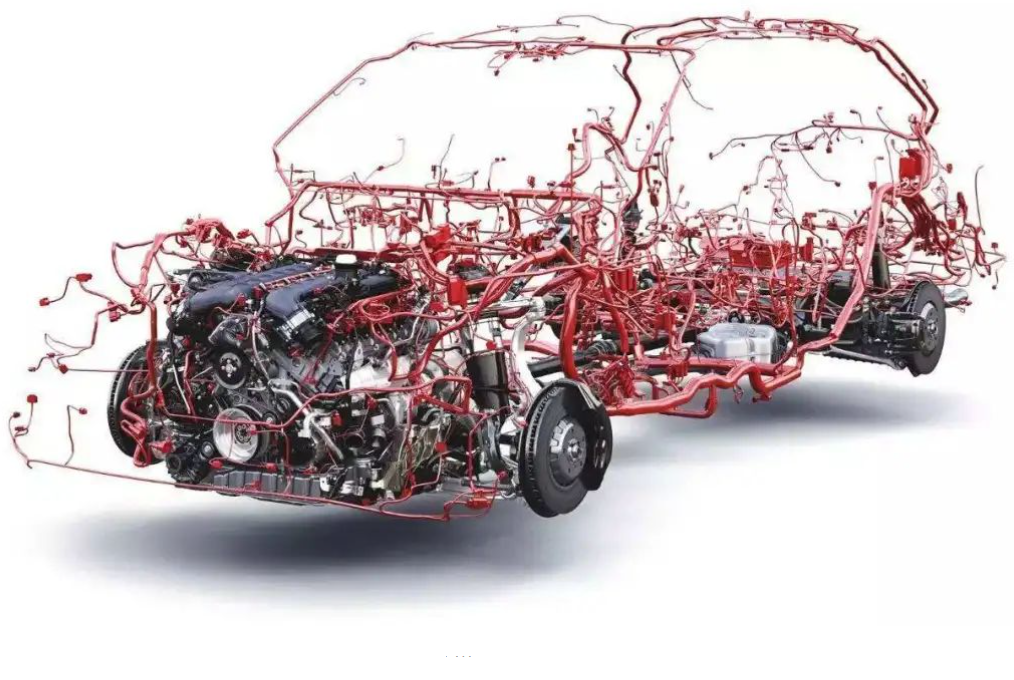
A car is an important component that assembles the various wires, plugs, connectors and other electrical parts of a car together. Automotive wire harnesses are widely used in the automotive manufacturing industry, including cars, trucks, motorcycles and other types of vehicles. They play the role of connection and power supply to ensure the normal operation of the vehicle and the normal work of the electronic equipment.
The functions of the automobile wiring harness are various, and first of all, it plays the role of connecting electrical equipment. In the engine compartment of the car, various sensors, motors and electronic control modules need to be connected through wiring harnesses to achieve information transmission and interaction. Secondly, the wiring harness is also responsible for transmitting power signals to provide power support for various systems, such as ignition systems, lighting systems, air conditioning systems, etc. Most importantly, the harness also prevents damage to the wire due to factors such as friction, vibration or moisture, improving the stability and safety of the vehicle.
Preparatory work
Make sure you have the proper tools and materials ready before you start replacing your car’s wiring harness plugs. This will include wrenches, wire strippers, electrical tape, new plug connectors, and more.
Step 1: Disconnect the power supply
First, make sure the vehicle’s power supply is turned off to avoid electric shock or other safety risks. The negative battery end connection of the vehicle can be unplugged to ensure safe operation.
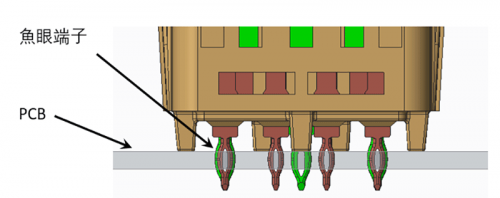
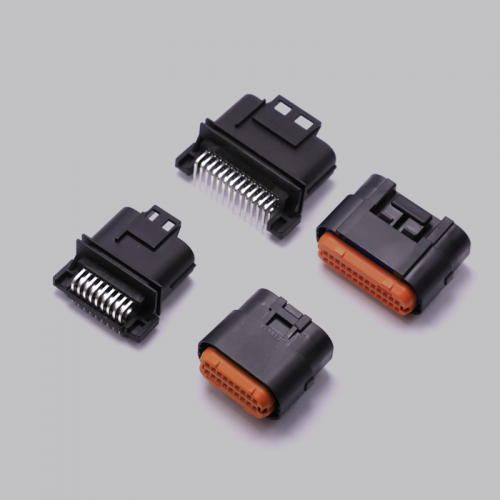
Step 2: Locate the plug connector
According to the wiring harness plug you need to replace, find the appropriate plug connector. This is usually located in the engine bay, under the vehicle, or in the dashboard area inside the vehicle. Ensure easy access to the plug connector.
Step 3: Strip the harness
Use wire strippers to carefully peel off the insulated outer skin on the old plug connector to expose the wires inside. Make sure not to damage the wire and only peel off enough outer skin to insert the new plug connector.
Step 4: Prepare the new plug
Prepare the appropriate wire connections according to the type of new plug connector and manufacturer’s instructions. It may be necessary to strip the wire so that a new plug can be inserted.
Step 5: Connect the wires
According to the mark on the plug connector, connect the new plug connector one by one with the corresponding color of the wire. Make sure the connection is tight and the wires are not loose.
Step six: Test the connection
Reconnect the negative battery end of the vehicle after the plug is replaced. Start the vehicle and test the electrical equipment associated with the plug connector to make sure everything is working properly.
Step 7: Secure the plug
Use electrical tape or other appropriate fastening method to secure the new plug connector in place. Make sure the plug connector is not loose or affected by external vibrations.
Step 8: Check and clean up
Check all connections to make sure there are no loose or unconnected wires. Clean the work area to ensure that no tools or materials are left inside the vehicle.
Sum up

Replacing a car harness plug can take some time and patience, but the right steps can ensure that the vehicle’s electrical system is functioning properly. If you are unsure about the operation, it is recommended to seek the help of a professional auto repair technician.
I hope these steps can help you smoothly replace the car wiring harness plug and ensure the stable operation of your vehicle electrical equipment.